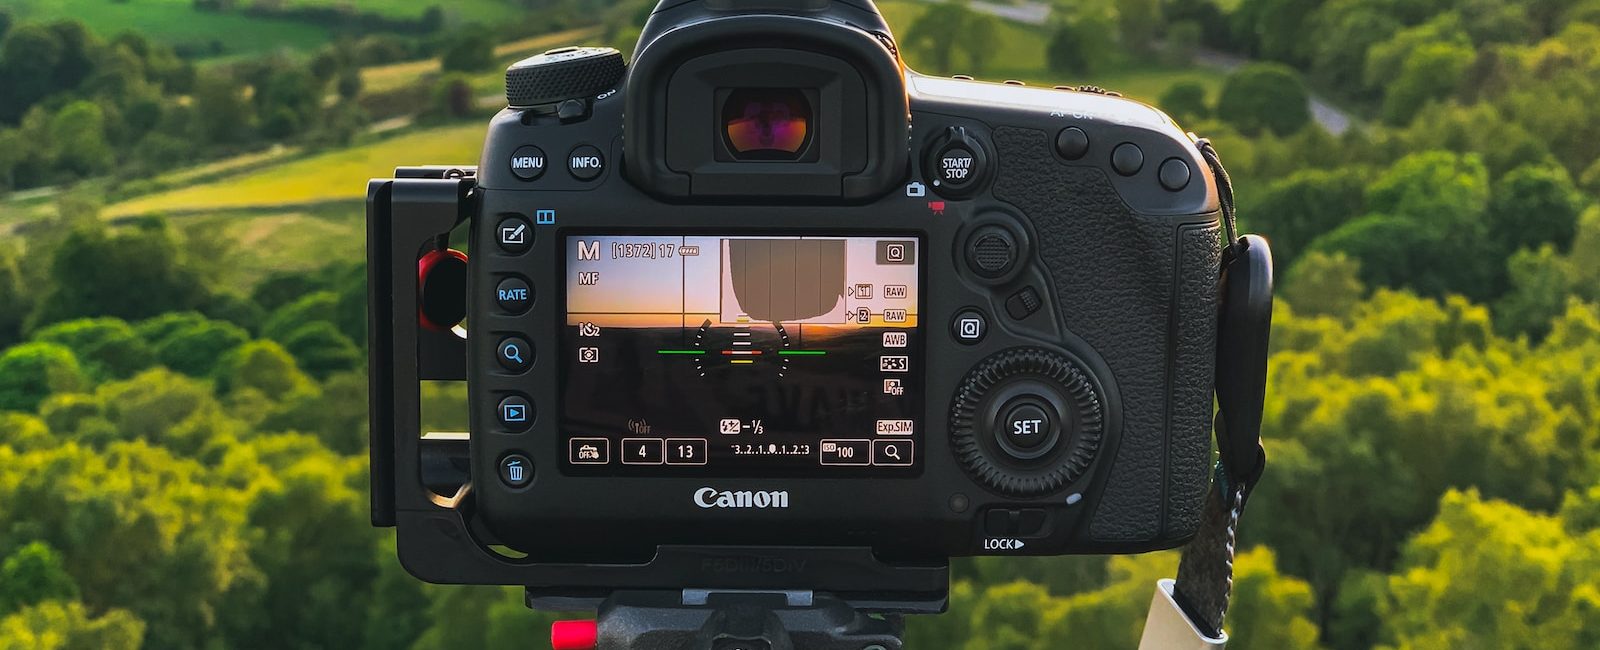
Understanding the fundamentals of DSLR camera settings is crucial for any aspiring photographer. These settings play a significant role in determining the outcome of your photographs. One of the key settings to understand is the shooting mode. The shooting mode allows you to control how the camera functions in different scenarios, such as capturing fast-moving subjects or taking long-exposure shots. By selecting the appropriate shooting mode for each situation, you can ensure that your camera is optimized to produce the desired results.
Another important aspect of DSLR camera settings is the aperture. The aperture refers to the size of the opening in the lens through which light enters the camera. By adjusting the aperture, you can control the depth of field in your photographs. A wider aperture (lower f-number) will result in a shallow depth of field, where the subject is in sharp focus while the background is blurred. Conversely, a narrower aperture (higher f-number) will result in a greater depth of field, where both the subject and background are in focus. Being able to manipulate the aperture effectively allows you to create photographs with various levels of focus, adding depth and dimension to your images.

Choosing the Right Shooting Mode for Different Scenarios
When it comes to photography, choosing the right shooting mode for different scenarios is essential in capturing the perfect image. The shooting mode determines how the camera operates and what settings are prioritized. It allows photographers to have control over various aspects of the image, such as the depth of field, motion blur, and exposure. By understanding and utilizing the different shooting modes available on your DSLR camera, you can enhance your photography skills and create stunning photos in any situation.
One of the most commonly used shooting modes is the automatic mode, often denoted by an “A” or a green box symbol. In this mode, the camera takes charge of all the settings, making it suitable for beginners or situations where you need to quickly capture an image. While the automatic mode is convenient, it lacks the flexibility and customization options provided by other shooting modes. Hence, as you progress in your photography journey, you may want to explore more advanced shooting modes to have better control over your images.
Adjusting the Aperture for Depth of Field Control
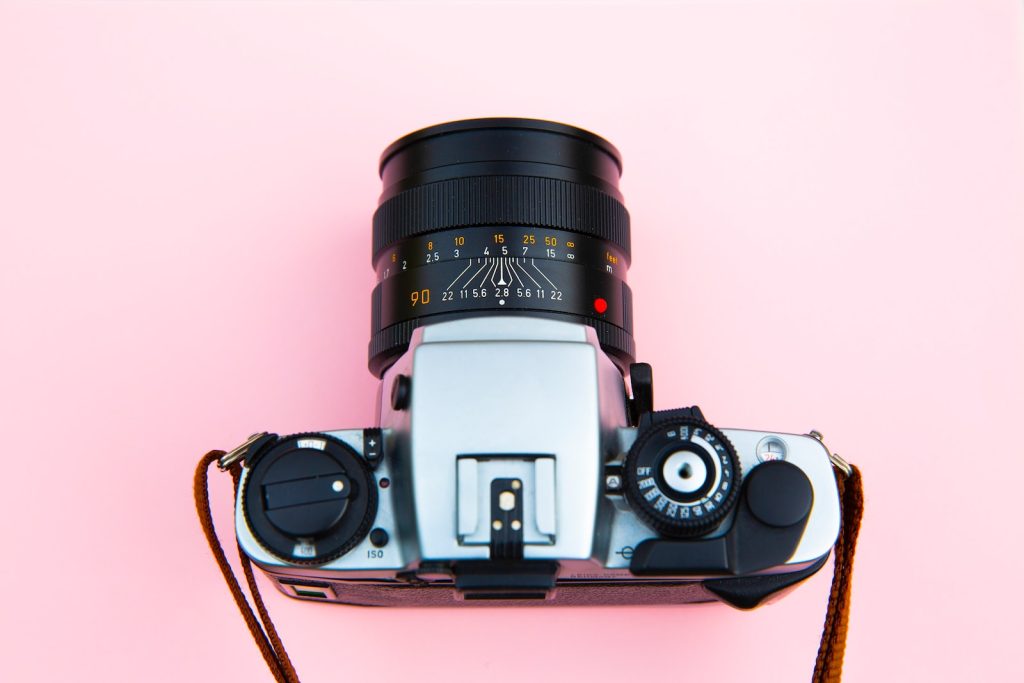
To achieve full control over the depth of field in your photographs, it is crucial to understand how adjusting the aperture can make a significant difference. The aperture refers to the opening through which light passes into the camera lens. By widening or narrowing this opening, the photographer can determine the amount of light that enters, as well as the depth of field.
When it comes to depth of field, a wider aperture (smaller f-number) will result in a shallower depth of field, meaning that only a specific area of the image will be in sharp focus while the rest becomes gradually blurred. This technique is commonly used in portrait photography, allowing the subject to stand out from the background and emphasize their presence. On the other hand, a narrower aperture (larger f-number) will increase the depth of field, resulting in a larger area of the image being in focus. This is often utilized in landscape photography, where capturing a vast and detailed scene is desired. By understanding and experimenting with different aperture settings, photographers can effectively control the depth of field to achieve the desired creative effect in their images.
Mastering Shutter Speed for Capturing Motion
The proper use of shutter speed is essential for capturing motion in your photographs. Shutter speed refers to the length of time the camera’s sensor is exposed to light. It determines how long the camera’s shutter stays open, allowing light to enter and create an image.
To freeze fast-moving subjects, such as a racing car or a flying bird, a high shutter speed is necessary. This means using a faster setting, such as 1/1000th of a second or even higher. By using a high shutter speed, you can capture the moment with incredible detail and clarity, freezing the subject in time. On the other hand, if you want to portray movement, using a slower shutter speed is the way to go. This technique can be particularly useful when photographing flowing water or fireworks. When the shutter speed is slow, moving elements in the frame will appear blurred, creating a sense of motion and adding a dynamic feel to your photographs.
Utilizing ISO Sensitivity to Manage Low Light Situations
When it comes to managing low light situations in photography, understanding ISO sensitivity is crucial. ISO is the camera setting that determines the sensor’s ability to capture light. In low light environments, increasing the ISO sensitivity can help brighten the image. However, it is important to note that high ISO settings can introduce digital noise, resulting in a grainy appearance. Therefore, finding the right balance between a bright image and acceptable noise levels is key.
To utilize ISO sensitivity effectively, it is recommended to start with a low ISO setting and gradually increase it as needed. This approach allows you to maintain image quality while embracing the necessary amount of light. Experimenting with different ISO settings and taking test shots can help you understand how your camera responds to different light conditions. Additionally, it is essential to keep in mind that every camera has its own unique noise performance, so it is important to become familiar with your specific camera’s capabilities. By mastering ISO sensitivity, you can confidently manage low light situations and capture stunning photographs even in challenging lighting conditions.
Selecting the Ideal White Balance Setting for Accurate Colors
The white balance setting on a DSLR camera is often overlooked but plays a crucial role in achieving accurate colors in your photographs. Each type of light source emits a different color temperature, and setting the white balance correctly ensures that these colors are reproduced faithfully. When the white balance is off, images may appear too warm or too cool, resulting in inaccurate representations of the scene. To select the ideal white balance setting, start by considering the lighting conditions in which you are shooting. For example, in daylight conditions, setting the white balance to “Daylight” or “Auto” will generally produce accurate colors. Experimenting with different white balance settings can also help you achieve creative effects and enhance the mood of your photographs.
In addition to selecting the appropriate white balance preset, some DSLR cameras allow you to manually set the white balance based on a neutral reference point. This can be done by taking a photograph of a white or gray card under the same lighting conditions as your subject, and then using this image to set the white balance manually. Manual white balance adjustments are especially useful in situations where the lighting conditions are tricky, such as mixed lighting or when shooting indoors with artificial lights. By taking the time to understand and control the white balance setting on your DSLR camera, you can ensure that the colors in your photographs accurately represent the scene and convey your intended message to the viewer.

